Making Sheaths for North Bay Forge Bushcraft Knivesby Julia McCormack - McCormack Hill Leatherwww.mhleather.com | |||
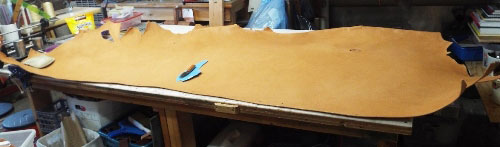 |
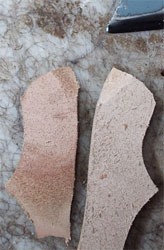
The sheaths begin as a side of leather. This is the right side of a cow (or steer) - you can see the neck at the left and the butt at the right. I use Wickett & Craig russet skirting because it colors up so beautifully after oiling. | ||
 |
 |
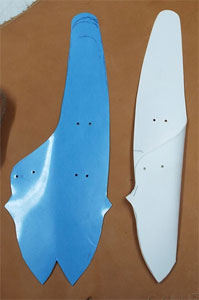
I use a plastic pattern (blue) to transfer it repeatedly to the leather. A heavy paper pattern (white) is easier to fold over to check the fit. | |
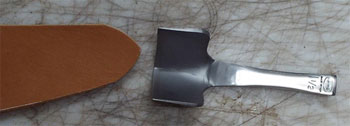 |
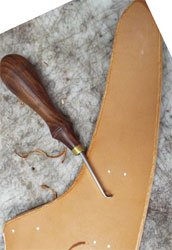
This is a strap end punch - designed to cut perfectly symmetrical pointed ends on straps. They come in many sizes; this one is 1-1/2”, just right for the front flap | ||
 |
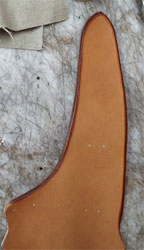 |
I edge the front flap now because it’s easier to do it flat than after the sheath is folded. An edger is pulled or pushed along the corner of the edge of the leather to round it and smooth it. After cutting a smooth edge (on both the front and back sides), I use an edging liquid which will make the fibers in the cut edge stay smooth and polished (this is Quik Slik from Sheridan Leather). I repeat the same process with paraffin rubbing it in with coarse canvas. This is all hand-rubbing, which is time-consuming, but makes the best edges. I have tried to find ways to motorize the process, but have never been happy with the results. | |
 |
I use a foot-press riveter to rivet the belt loops on (the belt loops were made early on in a long strap, with edges cut and polished before cutting them into the short belt loop pieces). | ||
 |
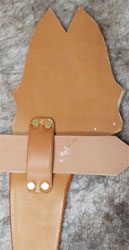 |
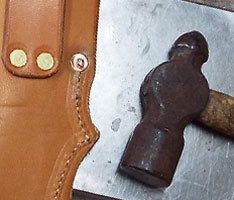
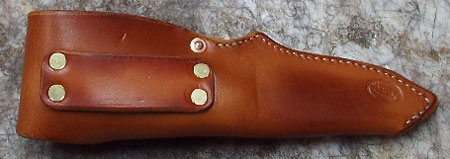
The backsides of the rivets get hammered flat on an anvil, so they won’t stand proud and rub the blade or handle. The finished belt loop is made to fit a standard 1-1/2” belt. This needs to be done while the sheath is still flat. | |
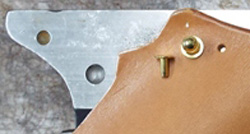 |
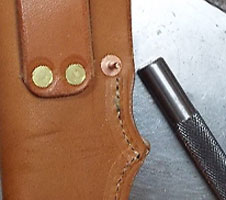
The button also needs to done while the sheath is flat. The button process consists of a top button, a rivet from the back, a hole in the sheath, and an anvil with the right sized hole in it. | ||
 |
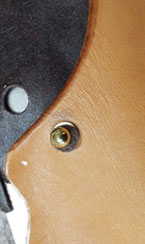 |
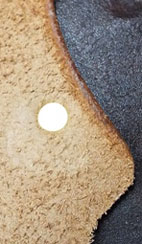
The finished button, with a little ring of protective leather that was cut by the anvil (and will be pulled off). | |
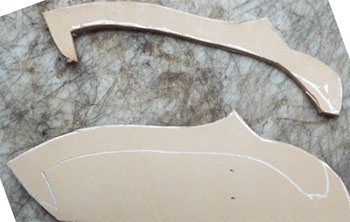 |
Next I cut the blade guard inserts - there is a long one that runs the length of the sheath, and a shorter one for the top of the blade guard, where the sheath needs more space. | ||
 |
 |
The two pieces of the blade guard are skived away at the inside top where the blade enters the sheath. This protects the sheath a little more from the scary sharp blades Jim makes, by providing a simple guide into the sheath. At the very end of the process, after oiling, I will touch up the blade entrance with a little epoxy to protect the leather even more from the blade. | |
 |
 |
The blade guard pieces are glued together (except for the skived areas). Then the single blade guard is glued to one side of the sheath. | |
 |
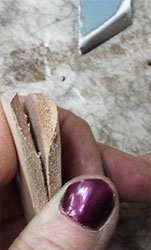
The sheath is wetted, folded over, and glued, and the knife is fitted to make sure everything is as it should be. | ||
 |
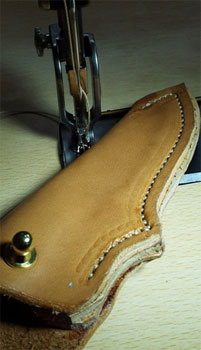 |
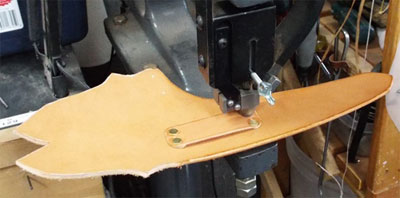
A stitch groove is gouged out to give the stitches a means of lying below the surface, to prevent wear and fraying. The sheath is stitched on my Cobra 2000 machine. The stitching sucks down into the leather, below the surface. | |
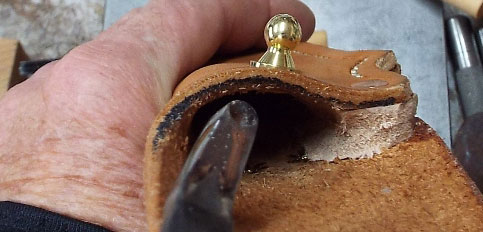 |
Once the sheath is structurally finished and not going to fall apart, I use a micro scorp to carve out the inside of the blade guard, to make the knife fit better. This could be done with a small rasp or file, but the scorp makes nice clean cuts. | ||
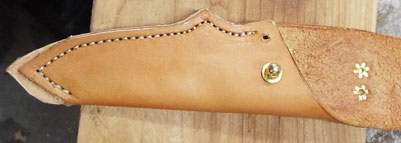 |
Almost finished - still need the copper rivet at the top of the stitching, to make sure the sheath doesn’t come apart under heavy use. I start by drilling a hole for the rivet. | ||
 |
 |
In goes the rivet - this is a #14 copper rivet. The washer on the back side is hammered on with a special riveting tool (this one made by Bob Douglas at Sheridan Leather, Sheridan, WY). | |
 |
 |
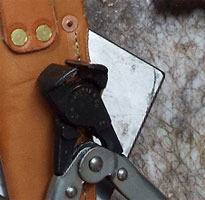
The excess rivet stem is cut off close to the rivet. The stem is finally peined over to finish and secure it. | |
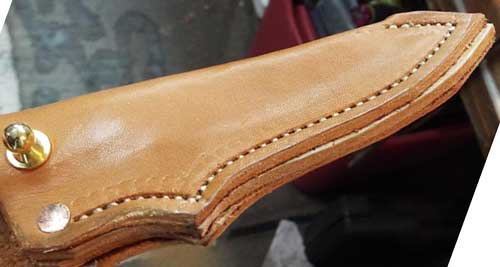 |
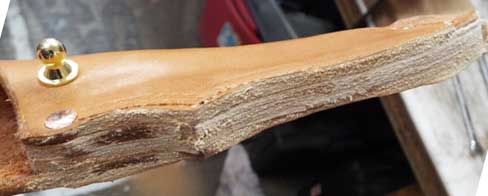
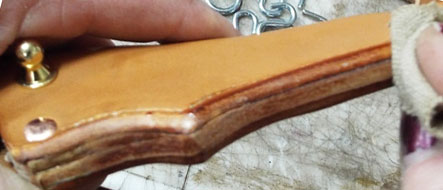
The edge of the sheath is still raw. | ||
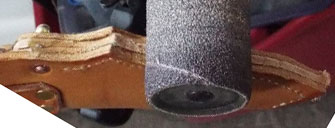 |
A sanding sleeve is the best way to quickly, smoothly make the edge and its curves even and flat. | ||
 |
After sanding the edge is even. | ||
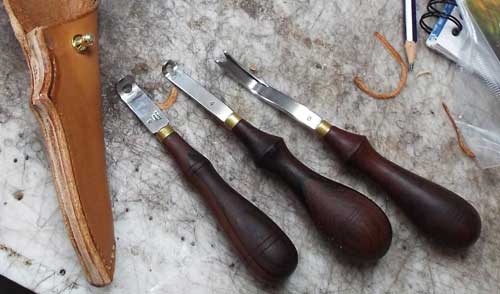 |
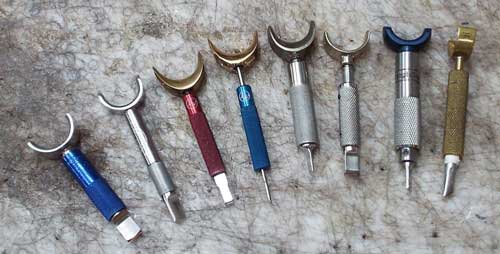
These are some of my edgers - two bissonettes and a round edger. The bissonettes are closed - they have a hole in the blade that allows both pull and push cutting. These were made by Barry King and Bob Douglas. | ||
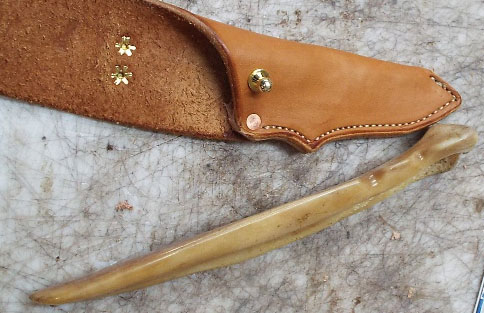 |
After dampening the edge and cutting it for a smooth round edge, I use a smoother I made from a horse bone. This was my favorite horse ever - a tall OTTB - Off Track Thoroughbred - named Tully, who lived out his wonderful life until 27 yrs old, and when he died I harvested his hide and front cannon bones. Horse bone is very dense and makes a terrific smoother - and his hide made very special rawhide. I run the bone smoother over the damp, cut edges with some pressure, and it leaves the surface glassy. | ||
 |
Then I use edge dressing again, rubbing it in hard with coarse canvas until it’s dry and shiny. I follow that with paraffin. | ||
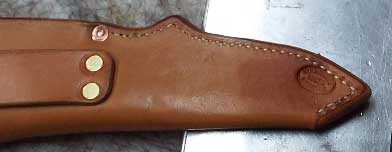 |
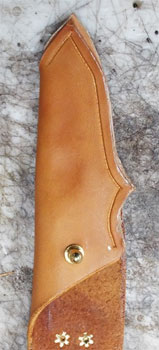
My maker stamp - which I should have put on while the sheath was flat (need to amend my procedures so I stop forgetting that step ). | ||
 |
This is my collection of swivel knives - they are the basis of all leather decoration. These are from Chuck Smith, Leather Wrangler, Henley, and Barry King. They each have different blades, and I use them all depending on my mood that day. | ||
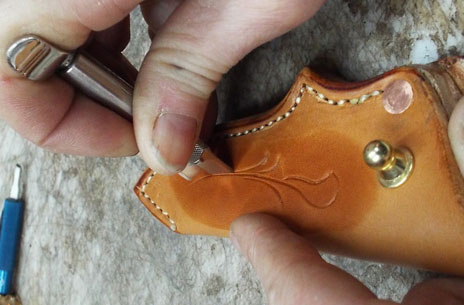 |
Cutting with the swivel knife. Only the trailing corner of the knife is in the leather. Sometimes I pull, sometimes I push. The swivel knife blade must be kept very sharp and honed often while cutting. | ||
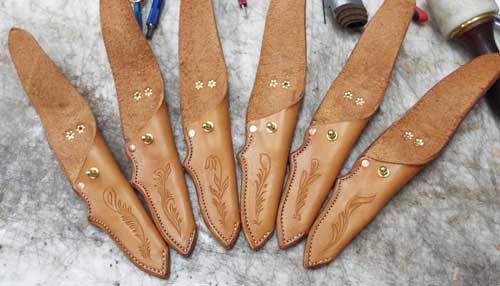 |
Here are a series of sheaths with decorative knife cuts. I do these cuts freehand, as the muse guides me, always making sure that every single cut counts and is as smooth and flowing as I can make it. I always start by just looking at each sheath and taking a deep breath, because the sheath is almost finished now and it would be so easy to ruin it with a single bad cut. | ||
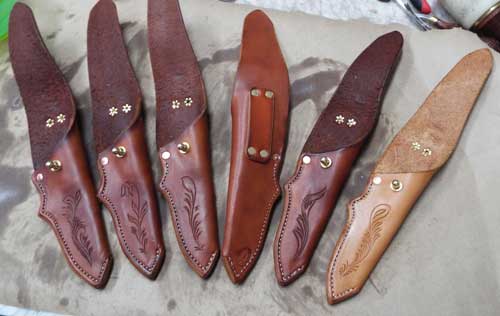 |
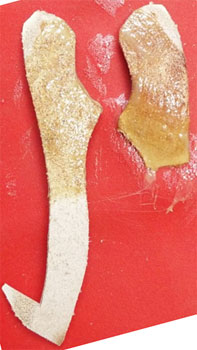
One last step - the oil. You can see the difference the oil makes, comparing the five oiled sheaths to the one un-oiled. I use best-quality virgin Olive oil, the same as I use on my saddles. This particular leather, Wickett & Craig russet skirt, is especially beautiful when it’s oiled. | ||
 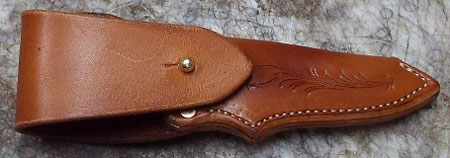  |
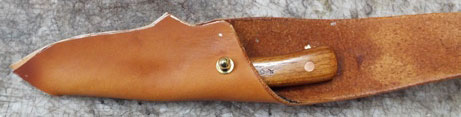
The finished sheath and knife! | ||
|
Julia McCormack McCormack Hill Leather www.mhleather.com | |||